Unleash Your Inner Baker with Game-Changing Homemade Slow Cooker Bread: Soft & Crusty in Just 2 Hours
Imagine the aroma of freshly baked bread wafting through your home – a comforting, irresistible scent that usually comes with hours of kneading, rising, and oven-watching. What if we told you that achieving this dream, complete with a beautifully soft interior and an optional, satisfyingly crusty exterior, could be done in a mere two hours, all within the humble confines of your slow cooker? Welcome to the revolutionary world of 2 hour slow cooker bread, a truly game-changing recipe that promises homemade perfection without the fuss of a traditional oven. This isn't just another bread recipe; it's a revelation. For anyone who's ever yearned for warm, homemade bread but felt intimidated by the process or lacked the time, this slow cooker method is your new best friend. It’s incredibly easy, deliciously addictive, and poised to become a weekly staple in your kitchen. Whether you're serving it alongside a hearty stew, transforming it into garlic bread for pasta night, or simply slathering it with butter, this bread delivers a bakery-quality experience with minimal effort.Why Your Slow Cooker Is Your New Best Baking Buddy
The concept of baking bread in a slow cooker might sound unconventional, but it’s a stroke of genius for several compelling reasons: * Effortless Convenience: Say goodbye to preheating a large oven, monitoring temperatures, and managing multiple rising cycles. The slow cooker provides a consistent, moist heat environment that is ideal for baking, making it incredibly forgiving for novice bakers. It truly embraces the "set it and forget it" mantra for bread making. * Time-Saving: The most remarkable aspect is the speed. From start to finish, you can have a fresh loaf on your table in about two hours. This efficiency makes homemade bread a spontaneous possibility, rather than a planned weekend project. For those seeking even more accelerated baking, explore our Hour Slow Cooker Bread: Easy Homemade Loaf Recipe for a quicker variant. * Perfect Texture Every Time: The slow cooker’s moist heat prevents the bread from drying out, resulting in an exceptionally soft, fluffy, and tender crumb. This is particularly appealing for those who prefer a less dense loaf. * Oven-Free Baking: Perfect for hot summer days when turning on the oven is unthinkable, or for smaller kitchens where oven space is at a premium. It also offers a fantastic alternative for those without a functional oven. Discover more about this innovative technique in our article on Bake Bread Without an Oven: Easy 2-Hour Crockpot Recipe. * Beginner-Friendly: The simplicity of this recipe makes it an excellent starting point for anyone new to bread making. There’s less to fuss over, allowing you to build confidence and enjoy the rewarding experience of baking your own bread.Mastering the Magic: Your 2-Hour Slow Cooker Bread Recipe
Crafting this delightful loaf is surprisingly straightforward. Here’s a breakdown of the process, designed to ensure your success:1. Activating the Yeast: The Foundation of Flavor
Begin by combining warm water (around 105-115°F or 40-46°C – think warm bathwater, not hot coffee) with a touch of sugar in a large bowl. The sugar acts as food for the yeast, helping it activate. Stir until the sugar dissolves, then sprinkle in your dry yeast. Give it a gentle stir and let it sit undisturbed for about 5-10 minutes in a warm spot. You'll know your yeast is active and ready when a frothy, foamy layer appears on the surface. This indicates it’s alive and well, ready to make your bread rise beautifully!
2. Assembling the Dough: Simple & Satisfying
Once your yeast is bubbling, add salt to the bowl and stir to dissolve. Then, incorporate vegetable oil, which contributes to the bread's tenderness. Gradually add your flour, mixing with your hands until all ingredients are thoroughly combined and a shaggy dough forms. Don't be afraid to get your hands dirty – it’s part of the authentic bread-making experience! At this point, turn the dough out onto a lightly floured surface and knead it for a solid 5 minutes. This vital step develops the gluten, creating the structure for a wonderfully chewy interior. After kneading, shape the dough into a smooth, round ball.
3. The First Rise: Patience is a Virtue (for 30 Minutes!)
Lightly coat a clean bowl with olive oil, place your dough ball inside, and cover it snugly with plastic wrap. Find a warm spot in your kitchen – perhaps near a sunny window, on top of a warm appliance, or even in a slightly warmed (but turned off) oven with the light on. Let the dough rise for approximately 30 minutes, or until it has visibly doubled in size. This short rise is crucial for developing flavor and texture, preparing it for its slow cooker journey.
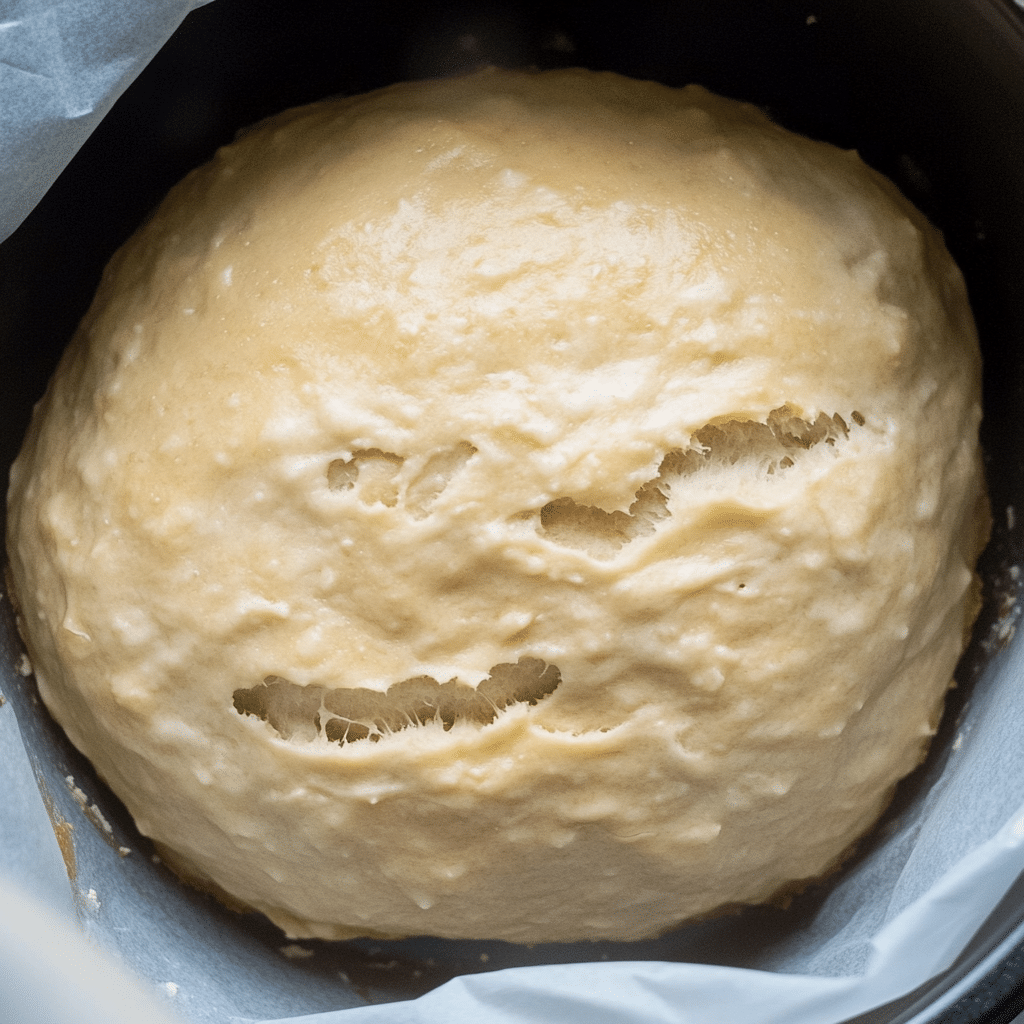
4. Preparing Your Slow Cooker: The Non-Stick Secret
This step is key to easy removal and preventing sticking. Cut a piece of parchment paper to line the bottom of your slow cooker. Critically, ensure the parchment paper extends up the sides of the slow cooker by a few inches; this acts as a barrier as the bread expands, preventing it from adhering to the crock. For an extra layer of protection, lightly spray the parchment paper with nonstick cooking spray. Gently place your risen dough into the prepared slow cooker. Now is also the perfect time to add any desired toppings like a sprinkle of fresh rosemary, as suggested, or perhaps a dash of everything bagel seasoning or some grated Parmesan cheese.
5. The Slow Cook: Let Your Appliance Do the Work
Cover your slow cooker and set it to HIGH for 2 hours. Resist the urge to peek or lift the lid during this cooking time, as doing so releases precious heat and moisture, which can affect the final texture and cooking time. The slow cooker will work its magic, transforming the dough into a beautifully baked loaf with a soft, moist interior.
6. The Perfect Finish: Soft, Crusty, or Both?
Once the 2 hours are up, carefully remove the bread from the slow cooker using the parchment paper handles. You'll have a wonderfully soft, fragrant loaf. For an immediate, melt-in-your-mouth experience, simply brush the top with a little melted butter and serve. However, if you crave that irresistible, golden-brown, crispy crust reminiscent of a traditional oven-baked loaf, a quick broil is your answer. Lightly butter the top again and place the bread under your oven broiler (or in a toaster oven on broil) for about 1 minute. Watch it like a hawk! Broilers can brown bread very quickly, so stay vigilant to prevent burning. The result will be a beautifully crisp top that contrasts perfectly with the tender crumb within.
